Texture experiments in Cinema 4D Lite
With Cinema 4D Lite now included in After Effects I’ve been getting back into producing more 3D motion graphics work. As a little side experiment I wanted to test out some texturing within Cinema 4D to see what is and isn’t possible.
I created the text and textures in cinema 4D then imported them into After Effects via Cineware.
The first texture I wanted to create was a grungy steel look - something with a nice reflection accompanied by a rough surface.

The next texture I wanted to try and create involved using a photograph of a wall to introduce a brick texture. It’s a technique I’ve used in the past for my old University video: The Tower - however that was using Maya rather than Cinema 4D.
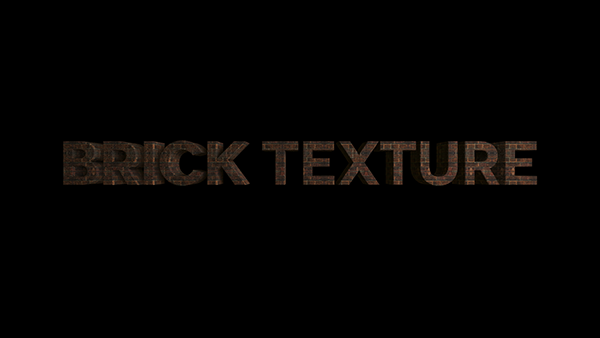
A key aspect of the brick texture is how it’s mapped onto the text, by default Cinema 4D sets the texture mapping to UVW mapping which, because of the photograph, didn’t really work in this instance. Instead I switched to cubic mapping which worked much better!
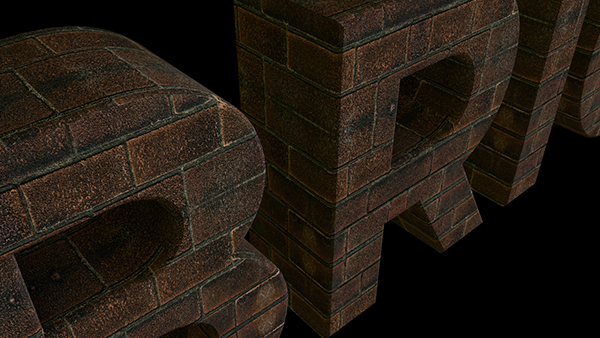
Ideally for a good wall texture you need a decent displacement map, because I’m using Cinema 4D I unfortunately don’t have access to the ‘Sub Polygon Displacement’ option which meant that I couldn’t really get the definition I wanted on the wall texture. The image below shows a close up of the text, although not a bad look, you can see it would benefit from a bit of depth.
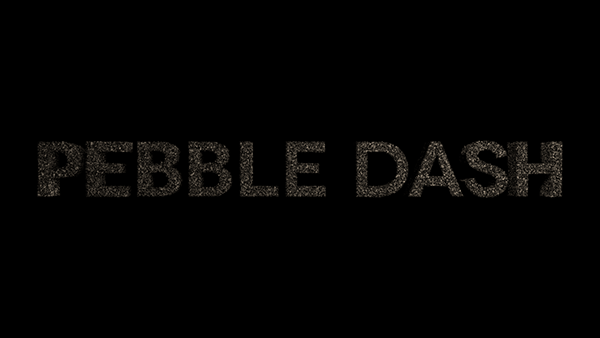
Moving on from the uniform brick texture I wanted to play around with using noise to create a more random pattern - the result was this pebble dash effect:
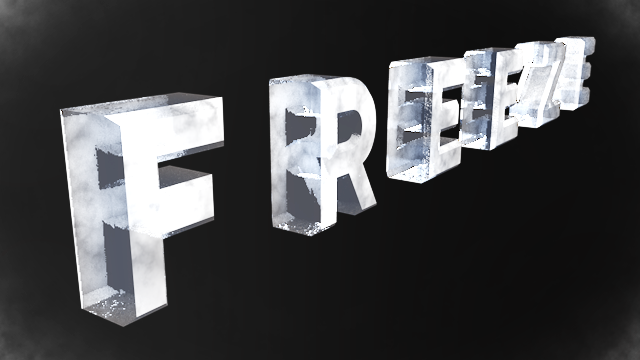
Finally I decided to look at the steel texture again and this time add a little transparency into the mix. The result was pretty close to an icy block effect:
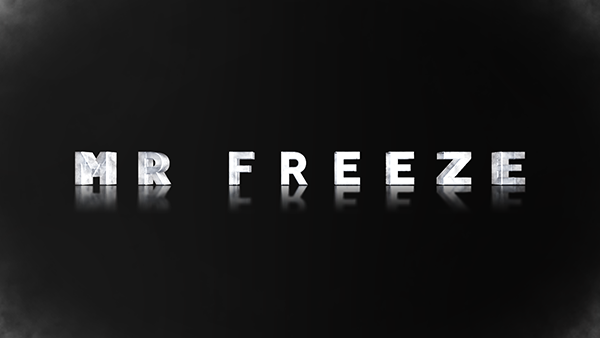
A close up of the ice - it would be great to see what this texture would look like with a little sub polygon displacement map on it.
Overall I’m pretty happy with the renders I’ve produced, it’s really helped me get to grips with what is an isn’t possible in Cinema 4D when it comes to texturing.
Filed under:
